xArmは中国深圳のUFactory社が出しているロボットアームです。
ユニバーサルロボティクス社のURシリーズと似た規模感、可動軸ながら、軽量安価という特徴があります。
実際のところ
環境
- Ubuntu 20LTS on WSL
- ROS noetic
前準備
gazebo_ros_pkg、ros_control、moveit_coreが前提になるので、先にそれらを導入します。
sudo apt install ros-${ROS_DISTRO}-controller-interface ros-${ROS_DISTRO}-gazebo-ros-control ros-${ROS_DISTRO}-joint-state-controller ros-${ROS_DISTRO}-effort-controllers ros-${ROS_DISTRO}-joint-trajectory-controller
ROSリポジトリの構築
$ cd ~/catkin_ws/src
$ git clone https://github.com/xArm-Developer/xarm_ros.git --recursive
ROSの大元を構築した際にsetup.bashを使っていたなら、環境変数ROS_DISTROが設定されてるはずなので
$ rosdep check --from-paths . --ignore-src --rosdistro $ROS_DISTRO
All system dependencies have been satisfied
$ rosdep install --from-paths . --ignore-src --rosdistro $ROS_DISTRO -y
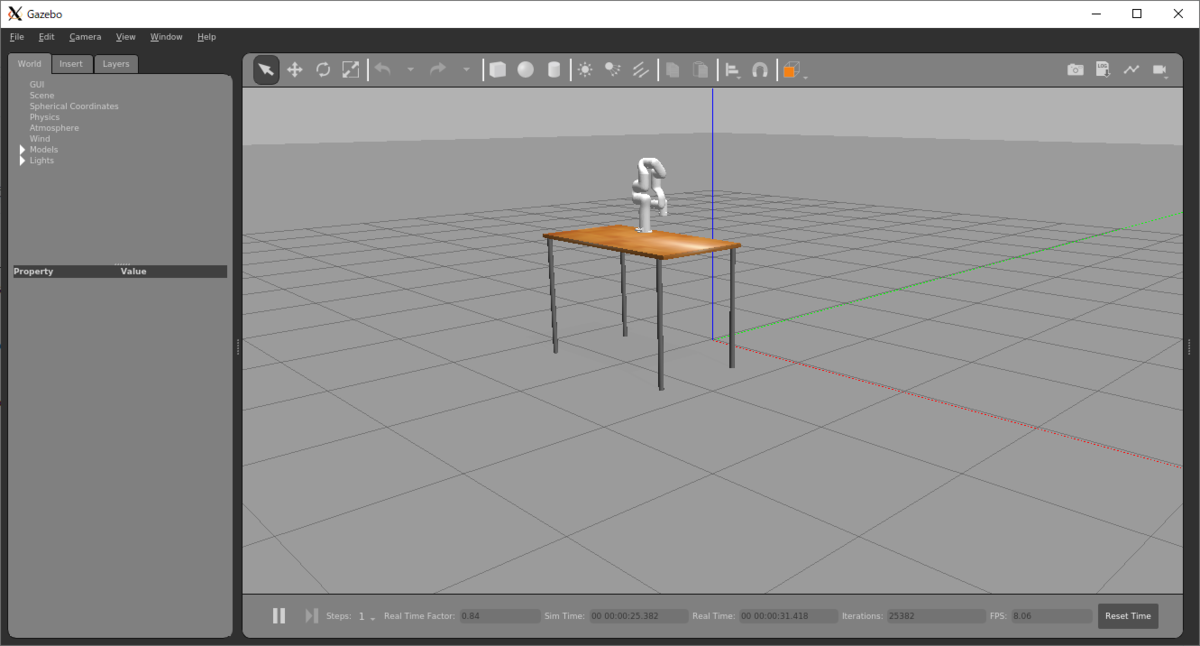
$ DISPLAY=:0 roslaunch xarm_gazebo xarm7_beside_table.launch
$ DISPLAY=:0 roslaunch xarm7_gripper_moveit_config xarm7_gripper_moveit_gazebo.launch

$ DISPLAY=:0 roslaunch xarm_gazebo xarm7_beside_table.launch run_demo:=true

$ DISPLAY=:0 roslaunch xarm_gazebo xarm7_beside_table.launch run_demo:=true add_gripper:=true


