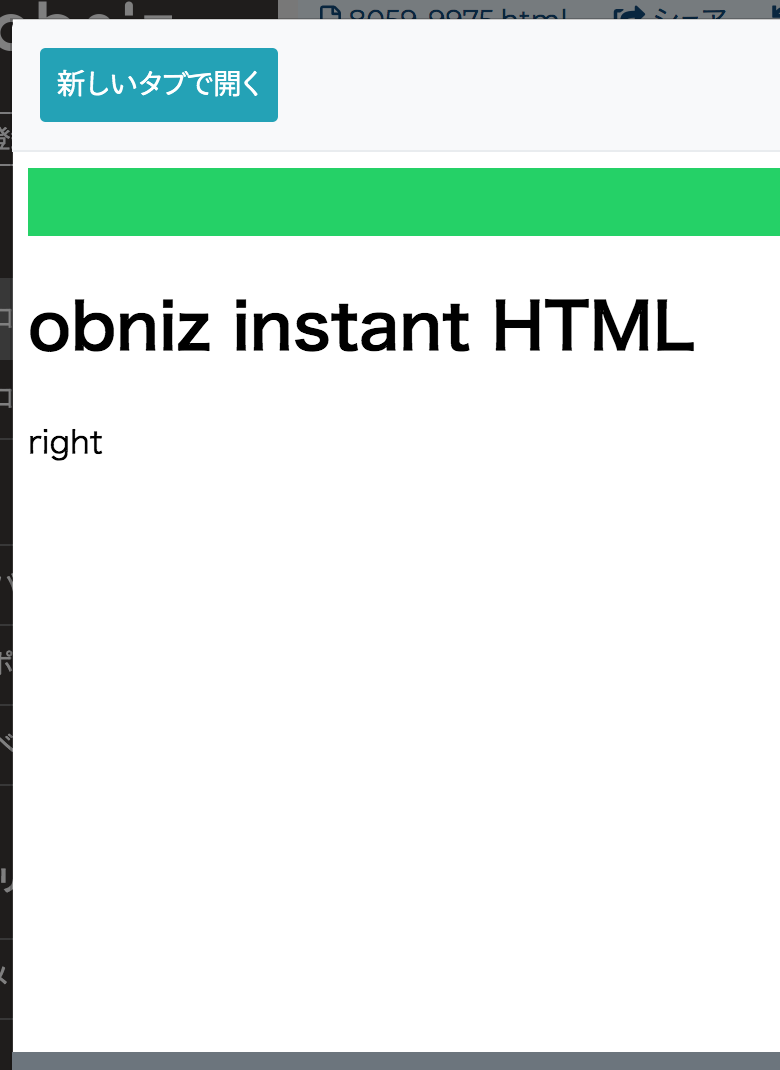
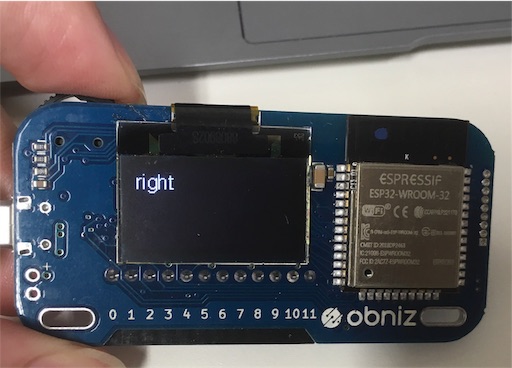
obnizには左右レバー式ボタンがついてます。
今回はこいつをつかう方法です。
実際のところ
以下の様な構文で受け取ります。
ACTIONは"push" "left" "right"の3種類と、何もない"none"が割り当てられています。
obniz.switch.stateWait(##ACTION##);
おためしスクリプト
ボタンを検知してUIとボード画面に表示するスクリプト例は以下の通り。
<html>
  <head>
    <meta charset="utf-8">
    <meta name="viewport" content="width=device-width, initial-scale=1">
    <script src="https://obniz.io/js/jquery-3.2.1.min.js"></script>
    <script src="https://unpkg.com/obniz@2.1.0/obniz.js" crossorigin="anonymous"></script>
  </head>
  <body>

    <div id="obniz-debug"></div>
    <h1>obniz instant HTML</h1>
    <div id="print">none</div>

    <script>
      var obniz = new Obniz("YOURID");
      obniz.onconnect = async function () {

        obniz.display.clear();
        obniz.display.print("Hello World");

        obniz.switch.onchange = function(state) {
          $('#print').text(state);
          obniz.display.clear();
          obniz.display.print(state);
        }

        // ボタン
        await obniz.switch.stateWait("push");
        console.log("switch pushed");

        await obniz.switch.stateWait("left");
        console.log("switch left");

        await obniz.switch.stateWait("right");
        console.log("switch right");

        await obniz.switch.stateWait("none");
        console.log("switch none");
      }
    </script>
  </body>
</html>

